DIY Ring Bearer Pillow ~ Cheap & Easy
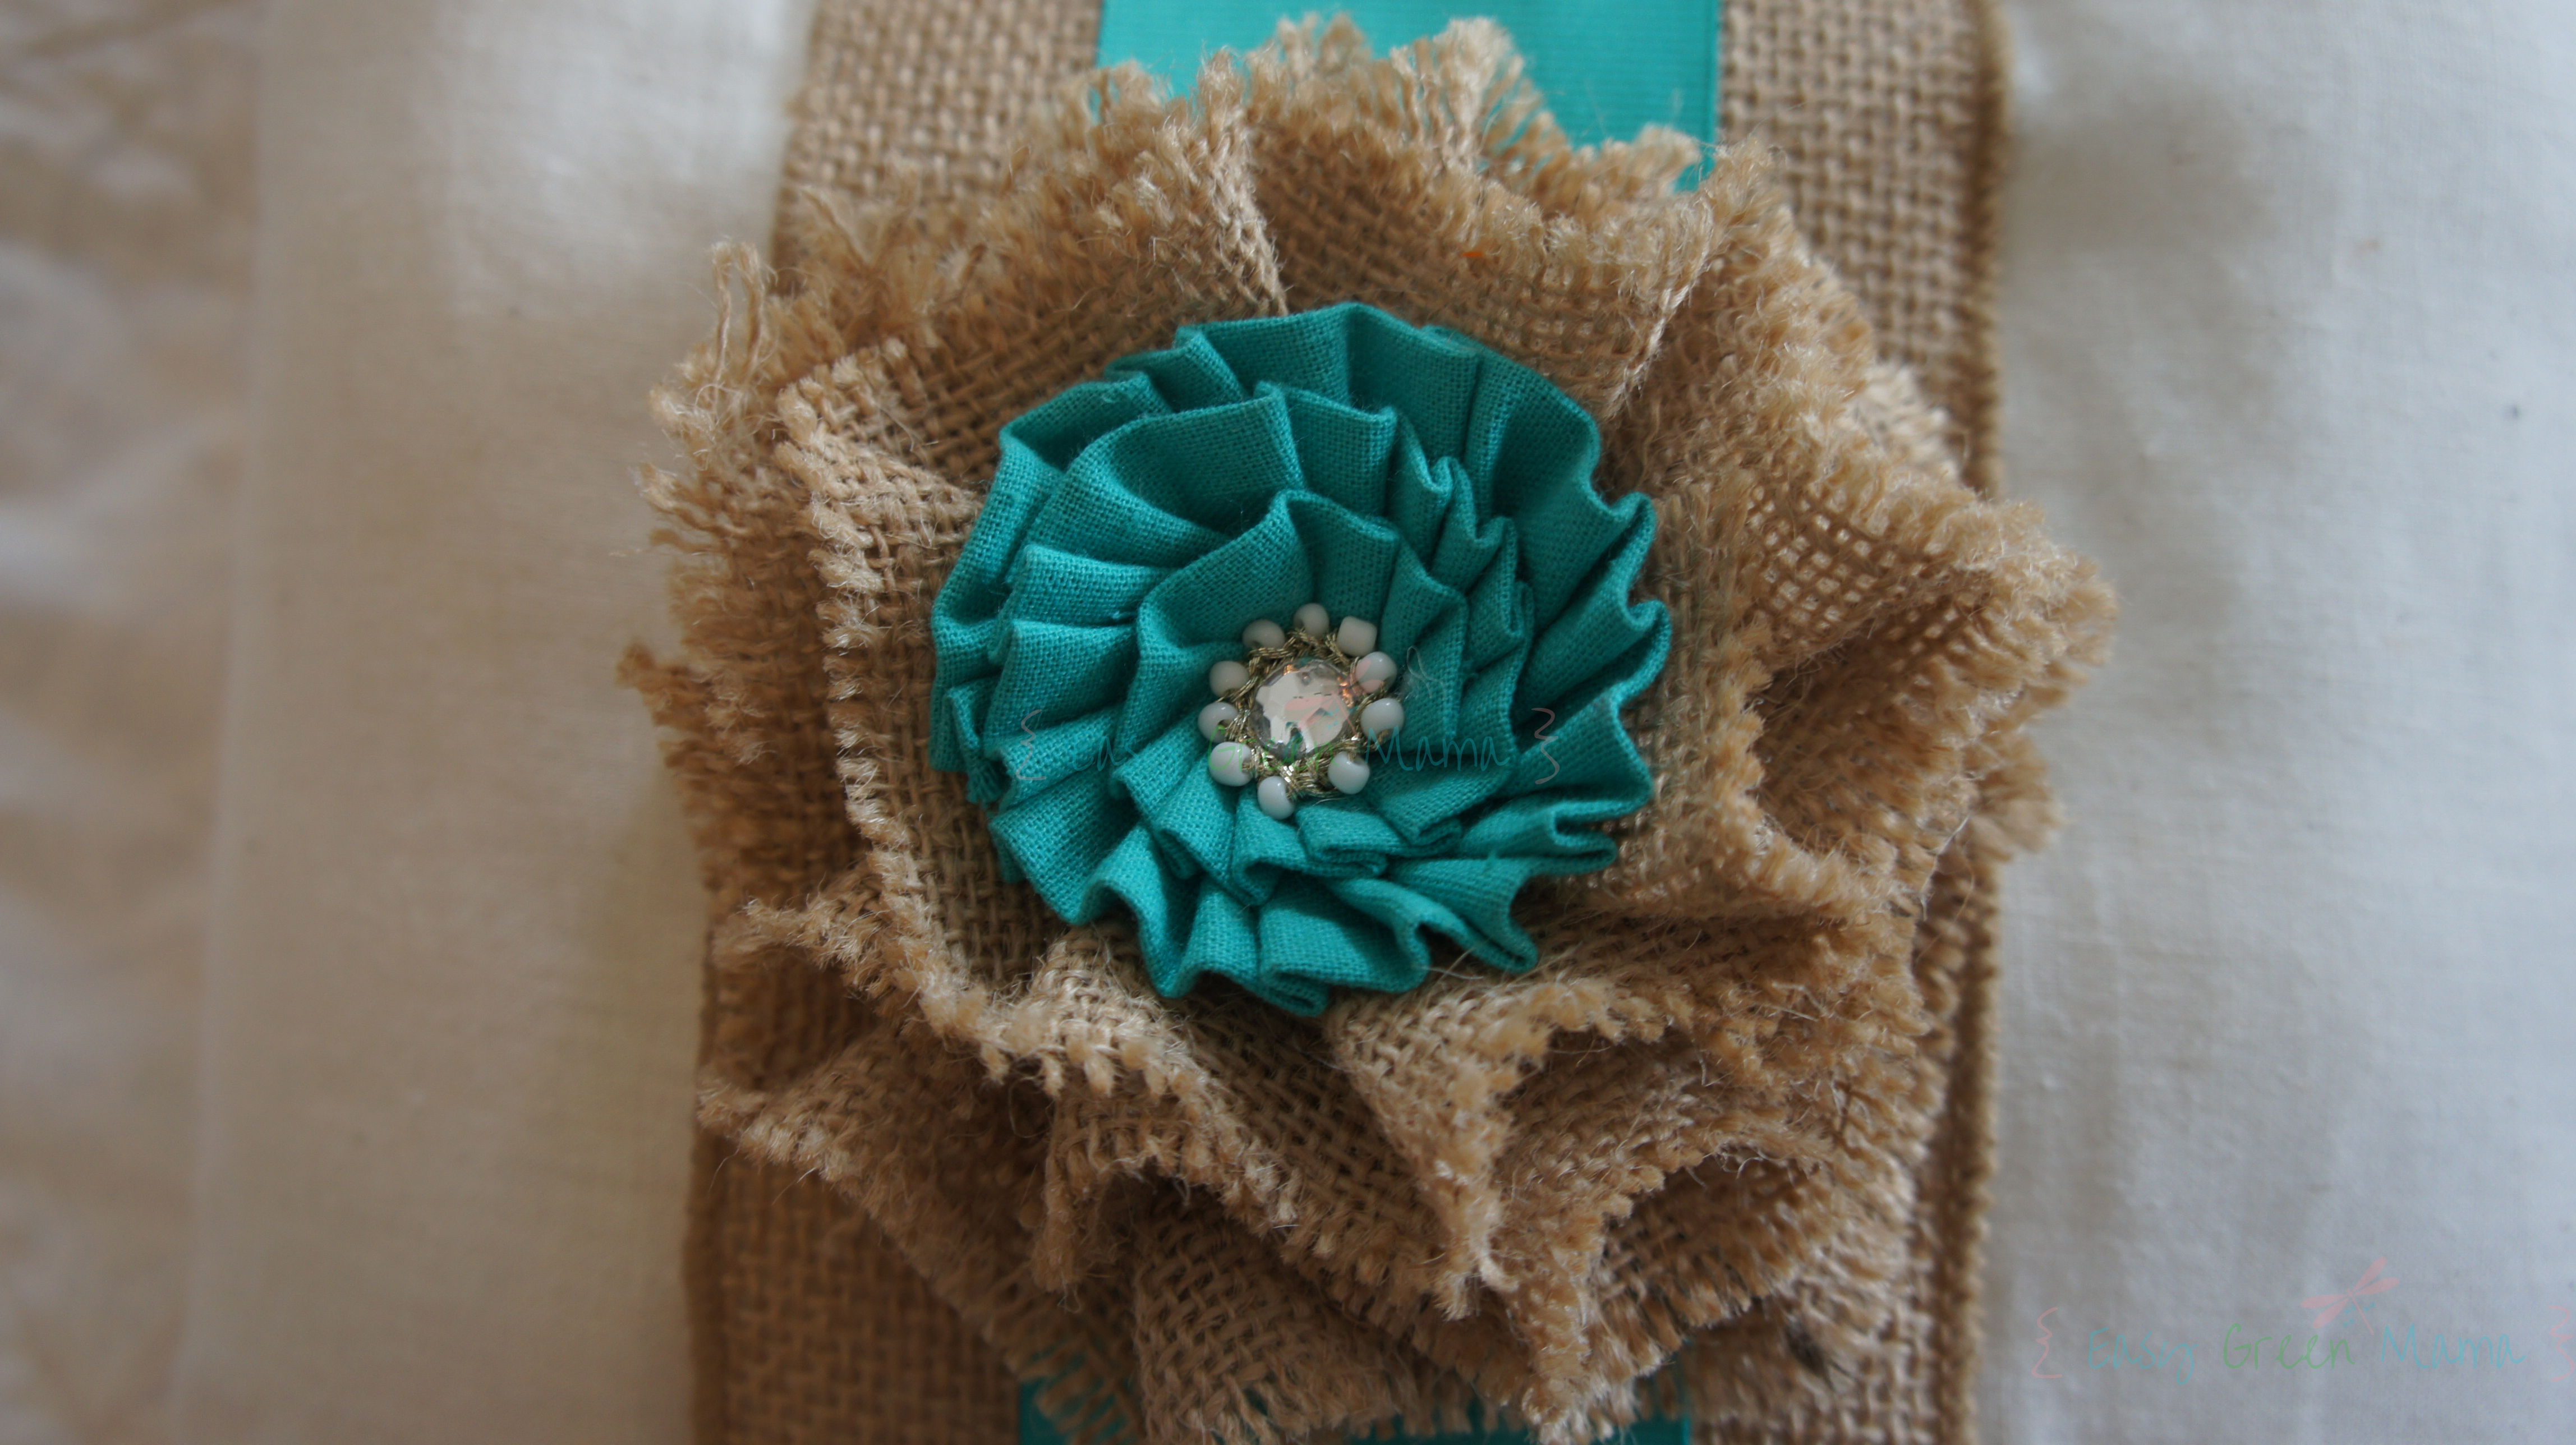
Next DIY Project Featured from my sister’s little Country Wedding is the Ring Bearer Pillow. This was made very easily and for about $5 by my sister’s best friend, Sharon!
Supplies:
Desired color fabric
Burlap ribbon with wire
Color craft ribbon
Hot glue gun
Cotton Stuffing
Sewing machine
Flowers and/or ribbon bow
Directions:
1. Cut out 2 squares to the desired size you would like your pillow to be.
2. Sew all edges shut except a small opening so you can turn ride side out.
3.Fill with cotton stuffing through small opening.
4. Sew the small hole shut.
5.Hot glue the burlap ribbon down I used the one with wire so it would help the pillow keep it’s shape.
6. Center and hot glue colored ribbon on top of burlap ribbon.
7. Hot glue on flowers and/or bows on top.
*I got my burlap flower and scrap book flower from hobby lobby because this was a last minute DIY wedding project.
You can u tube how to make burlap flowers/Rosettes instead of buying them.
Check out the other post from the DIY Country Wedding Series:
DIY Colored Mason Jars ~ Country Wedding Centerpiece Ideas
This is the second DIY Project featured from my sister’s little Country Themed Wedding! These DIY Colored Mason Jars made perfect centerpieces for her wedding reception tables! We are actually reusing these jars for my other sister’s baby shower next week!
Supplies you will need:
- Empty glass mason jars
- Paper towels
- Paper plate or newspaper
- Foil
- Mod Podge- Gloss Finish (there is only two kinds)
- Liquid food coloring, we used neon colors
- Baking sheet pan
- Oven preheated to 200°- 225° degrees or “Warm”
*my sister’s oven got super hot and burned the glasses at 225° but Sharon’s didn’t so it depends on how hot your oven gets. We suggest starting at 200° and do not exceed 225°
Directions:
Step 1: Line baking sheet with foil paper or wax paper. Make sure to cover the whole pan because mod podge is glue so it’s hard to to get off baking sheet. We suggest using an old baking sheet not used much.
Step 2: Add recommended drops of food coloring to mod podge bottle *It’s important not to add too much food coloring or the mixture will be too thin and result in streaking.
Step 3: Mix colored Mod Podge until color is mixed in and then pour into your glass jar.
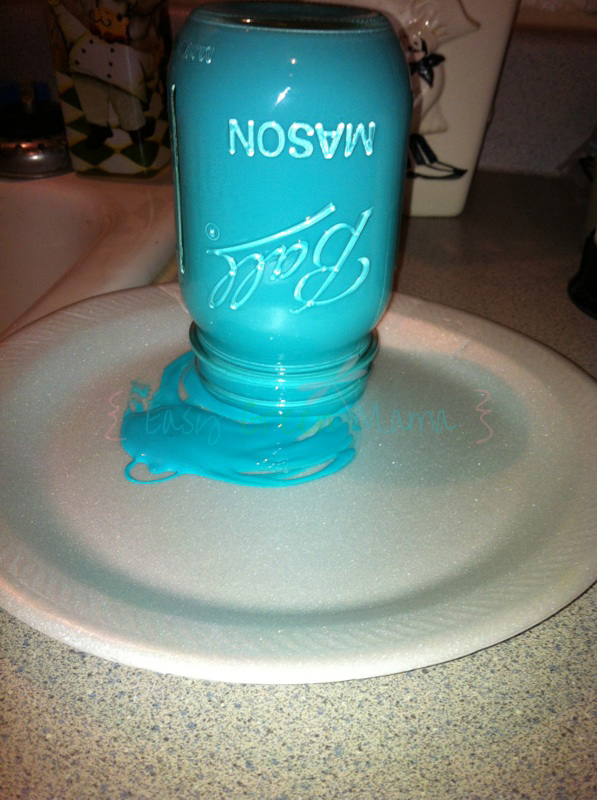
Step 4: Swirl the Mod Podge around until the entire inside of your jar is covered. Drain excess by placing jars upside down onto paper plate or newspaper. Wait 5 min or until most is drained and jar is covered (this will help get the rim which is hard to get while swirling)
Step 5: Carefully wipe the rim of your jar with a towel making sure none of the Mod Podge is on the outer lip. (We did 2 test jars first to make sure they came out good)
Step 6: After draining, carefully lift jars, re-wipe the rims and place upside down on lined baking sheet.
Step 7: Place in pre-heated oven for 20 minutes or until most extra paint has drained out (it may be a lot still) then flip jar over and bake for another 20 min. You can repeat until Mod Podge is completely dry and glass jars are transparent. Make sure to flip while baking because it will bubble up.
Step 8: Remove baking sheet from oven and allow hot jars to cool completely before handling. If they do not come out right just soak in water for a few hours and the glue will peel away.
*We added lace with a hot glue gun to give a little more character.
Check out the other post from the DIY Country Wedding Series:
DIY Just Married Celebration Banner
My sister recently had herself a little Country Themed Wedding! Her and her best friend, Sharon (crafty lady), made several DIY decorations. I will be doing a series on all the decorations they made. 1-2 a week for the next 4 weeks!
First decoration featured is the Just Married banner!
Supplies you will need:
Desired colors of:
1 yard of burlap
1 yard of tulle fabric (tutu like material, we used blue)
1 yard of tan fabric
Ruler
Scissors
Hot glue gun and sticks
Some twine strand or yarn
Paint
Directions:
Step 1: Cut twine strand out to desired length. Cut 10 inch (or desired measurement) strips of fabric to tie around twine.
Step 2: Cut squares or desired shape (rectangles, triangles) of burlap for letters. You will hot glue onto twine after painted and dried.
Step 3: Paint letters onto burlap. She free handed this one but you can use stencils.
Step 4: Attach tan and tulle fabric to twine strand with a simple tie. Hot glue burlap squares with letters onto twine strand.
So easy to have your very own homemade banner! You can use this idea for any celebration: Happy Birthday, Baby Shower, Congratulations….
Check out the other post from the DIY Country Wedding Series:
DIY Hulk Superhero Birthday Party Ideas ~ Printable Superhero Squad Cupcake Toppers
We had a DIY Hulk Party for my little man this year. I bought him this awesome hulk shirt from Amazon in a 3 pack fruit of the loom Marvel Heros pack. It came with a Spiderman shirt and a Wolverine shirt. The shirt has more of an under shirt feel so I layered it under a plaid shirt. He looked so cute!
I used toys and books we already owned for decorations. I made this banner from construction paper cut into triangles, hole punched, and put on balloon string. My 6 year old and I decorated them with markers. My boy drew some awesome Hulks! I also love the Hulk fist he added to the #3…he came up with that all on his own!
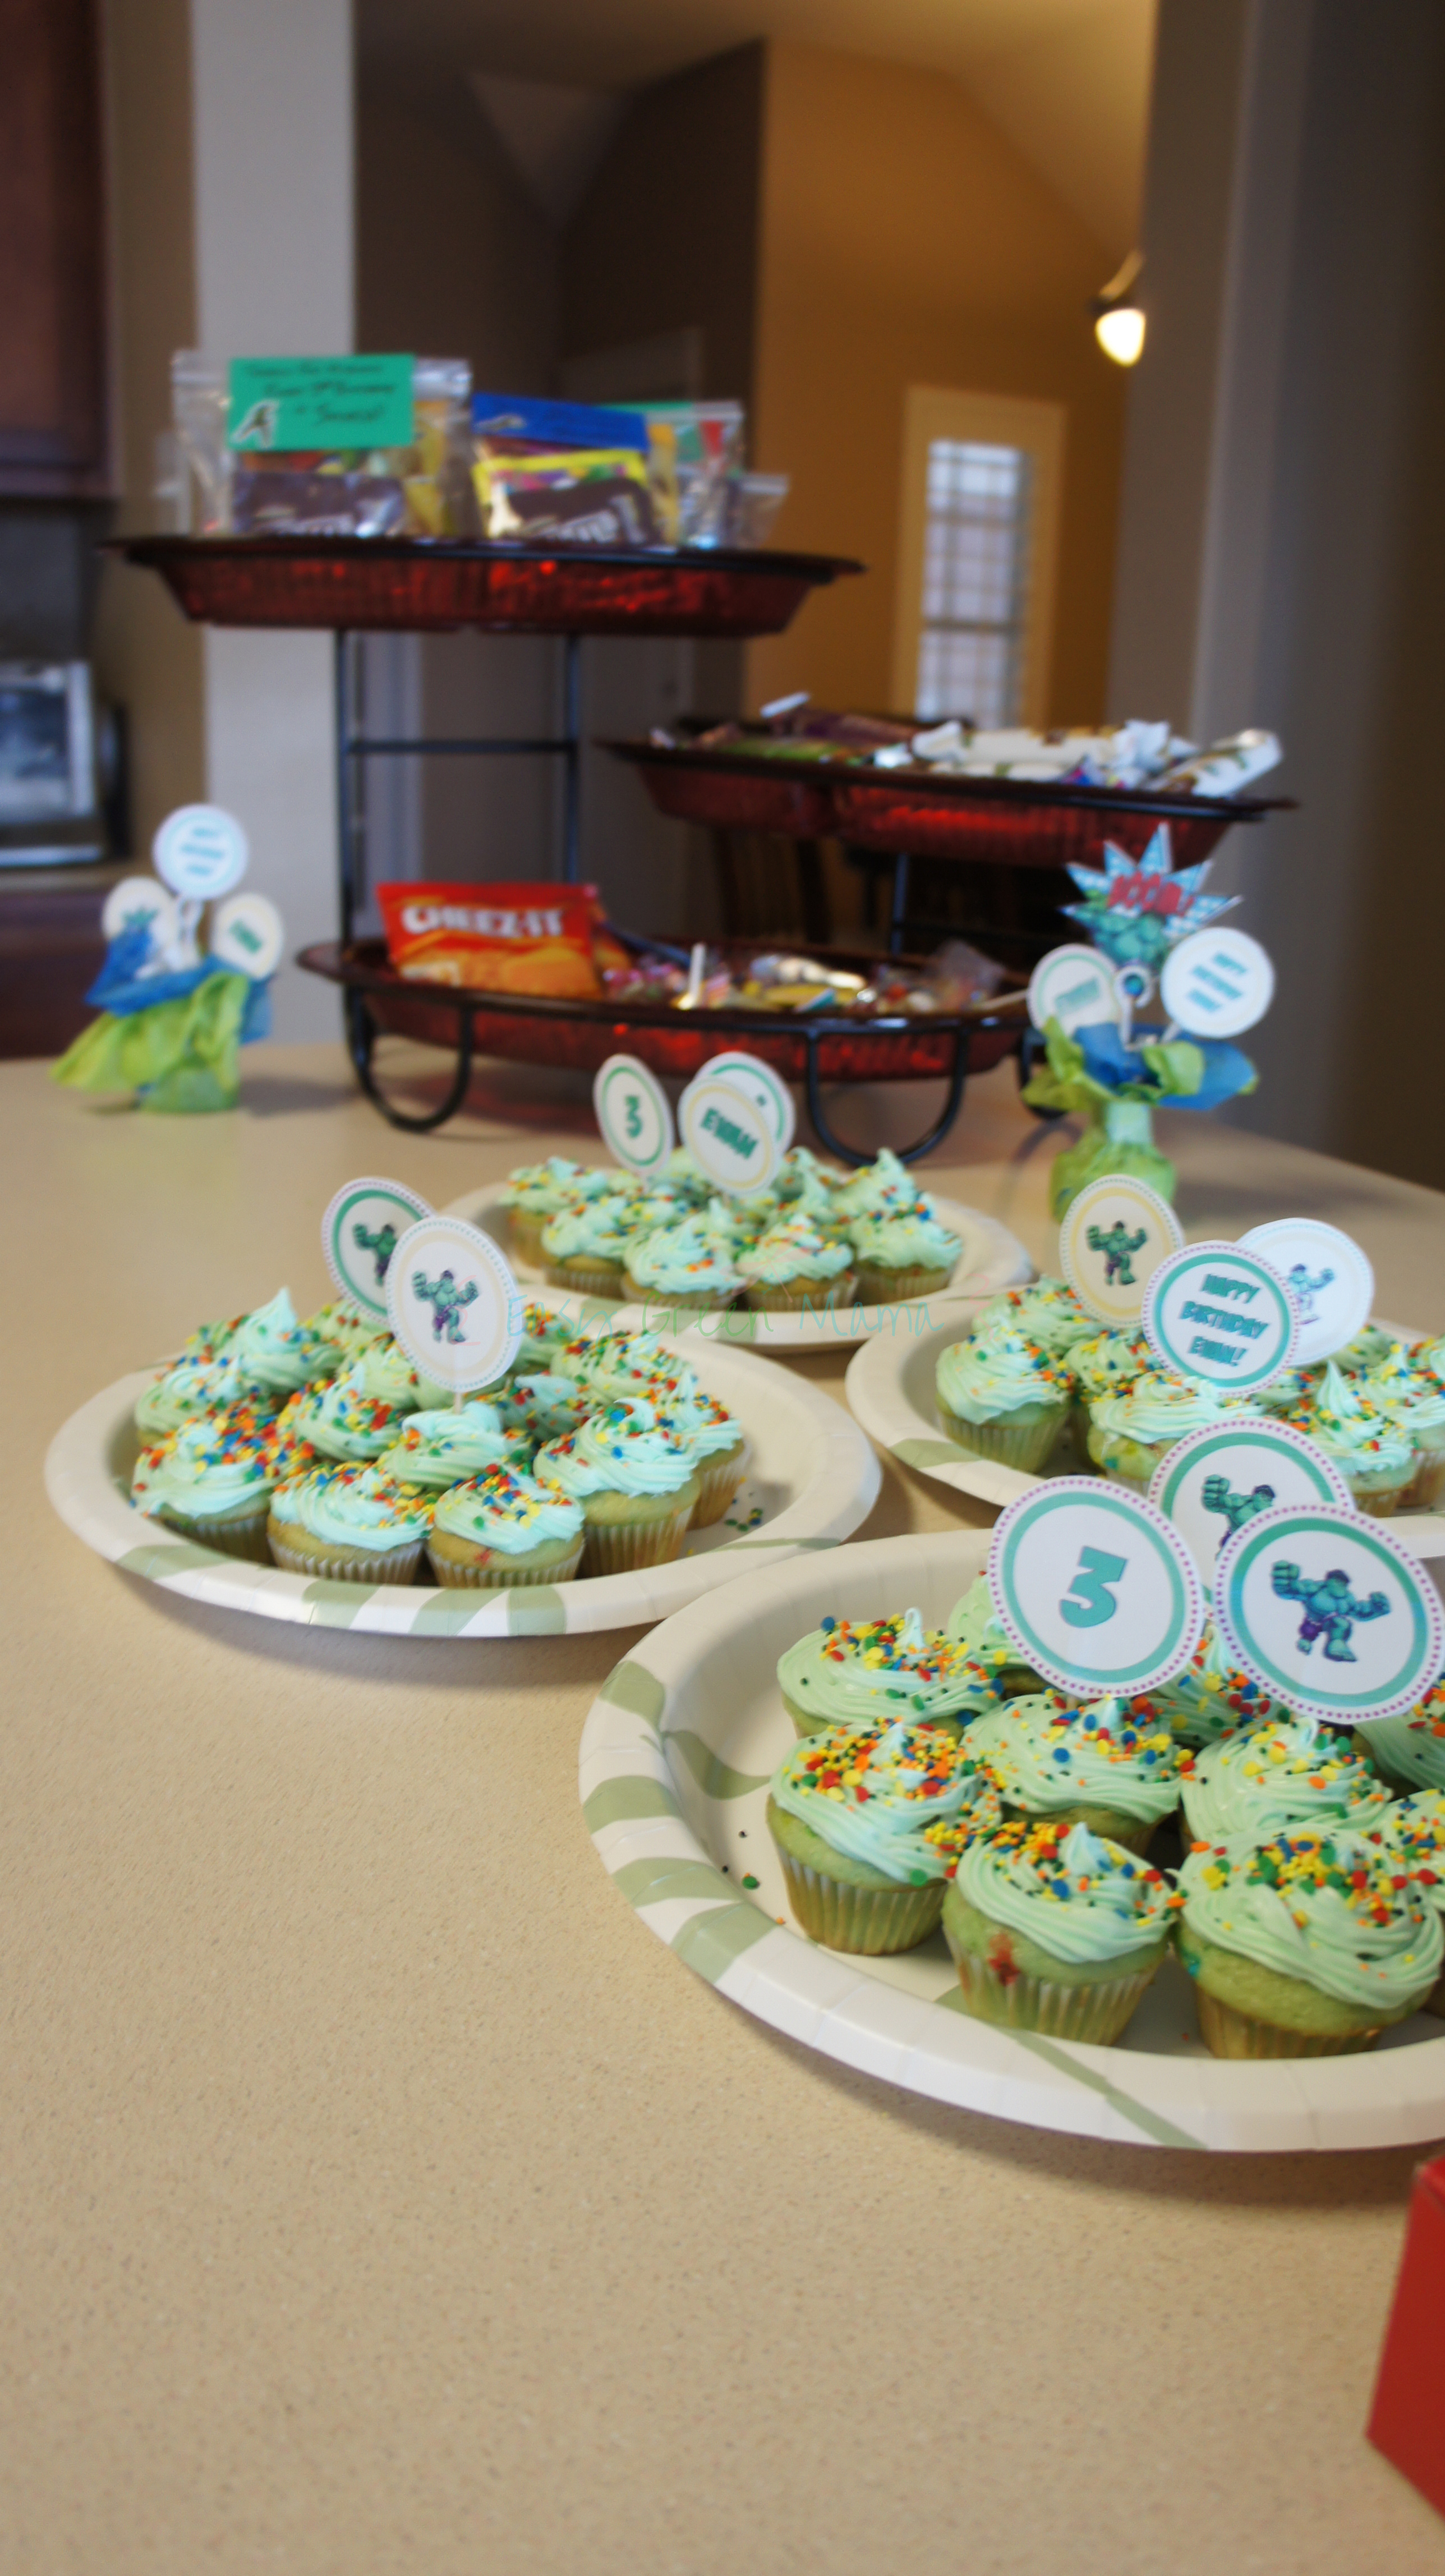
I made cupcakes with added green food color to the cake mix and the frosting. I also made cupcake toppers tapped to toothpicks. I used the toppers in the centerpiece decorations too.
Free for Personal Use: I made free for download Superhero Squad Cupcake Toppers since most people won’t have just a Hulk Party

If you have read my other party post, then you know I love me some cookie cake. I have one at pretty much every party I plan!
I put my son’s hulk toy on as a decoration. The cake icing got a little messed up during transportation, but it looked like the Hulk had been smashing it already. Totally made it work!
For the party favor bags I used colored cardstock paper. I hand wrote, “Thanks for Making Evan’s 3rd Birthday a Smash” and added Hulk stickers to each one. I stapled them to filled plastic lunch baggies. Super simple and super cheap!
My son’s favorite gift was the Hulk hooded jacket. It was so freakin’ cool with it’s mesh mask built in!
DIY Play Kitchen Oven
This post comes courtesy of my good friend Sharon. She is a super crafty lady on the cheap! She made this play oven for my niece!
This play kitchen was made out of extra furniture laying around. Super cheap and way easy for anyone to make! Spent total $15 to make this.
You can also get some “junk” stuff people leave on the curb or from thrift store. She is working on a big oven now with a dresser she picked up form the curb!
Basically just sand it down and then paint whatever paint color you want.
You can buy cheap test paints people return at home dept or lowes for cheap. She got this one at home dept for 50 cents!
Then add fabric on the bottom to cover the area. You can get the fabric at hobby lobby or walmart for cheap. They always put the returned fabric on sale, great deal!
Optional, add a wood piece on back for that extra look.
Next, add hard ware. She got hers from home dept for $1.
Last paint circles on the top for the stove top
She added a picture frame from the dollar tree and painted it to match the fabric for a little color.
Super Cute!
Hope this inspires you to do some DIY crafts on the cheap!